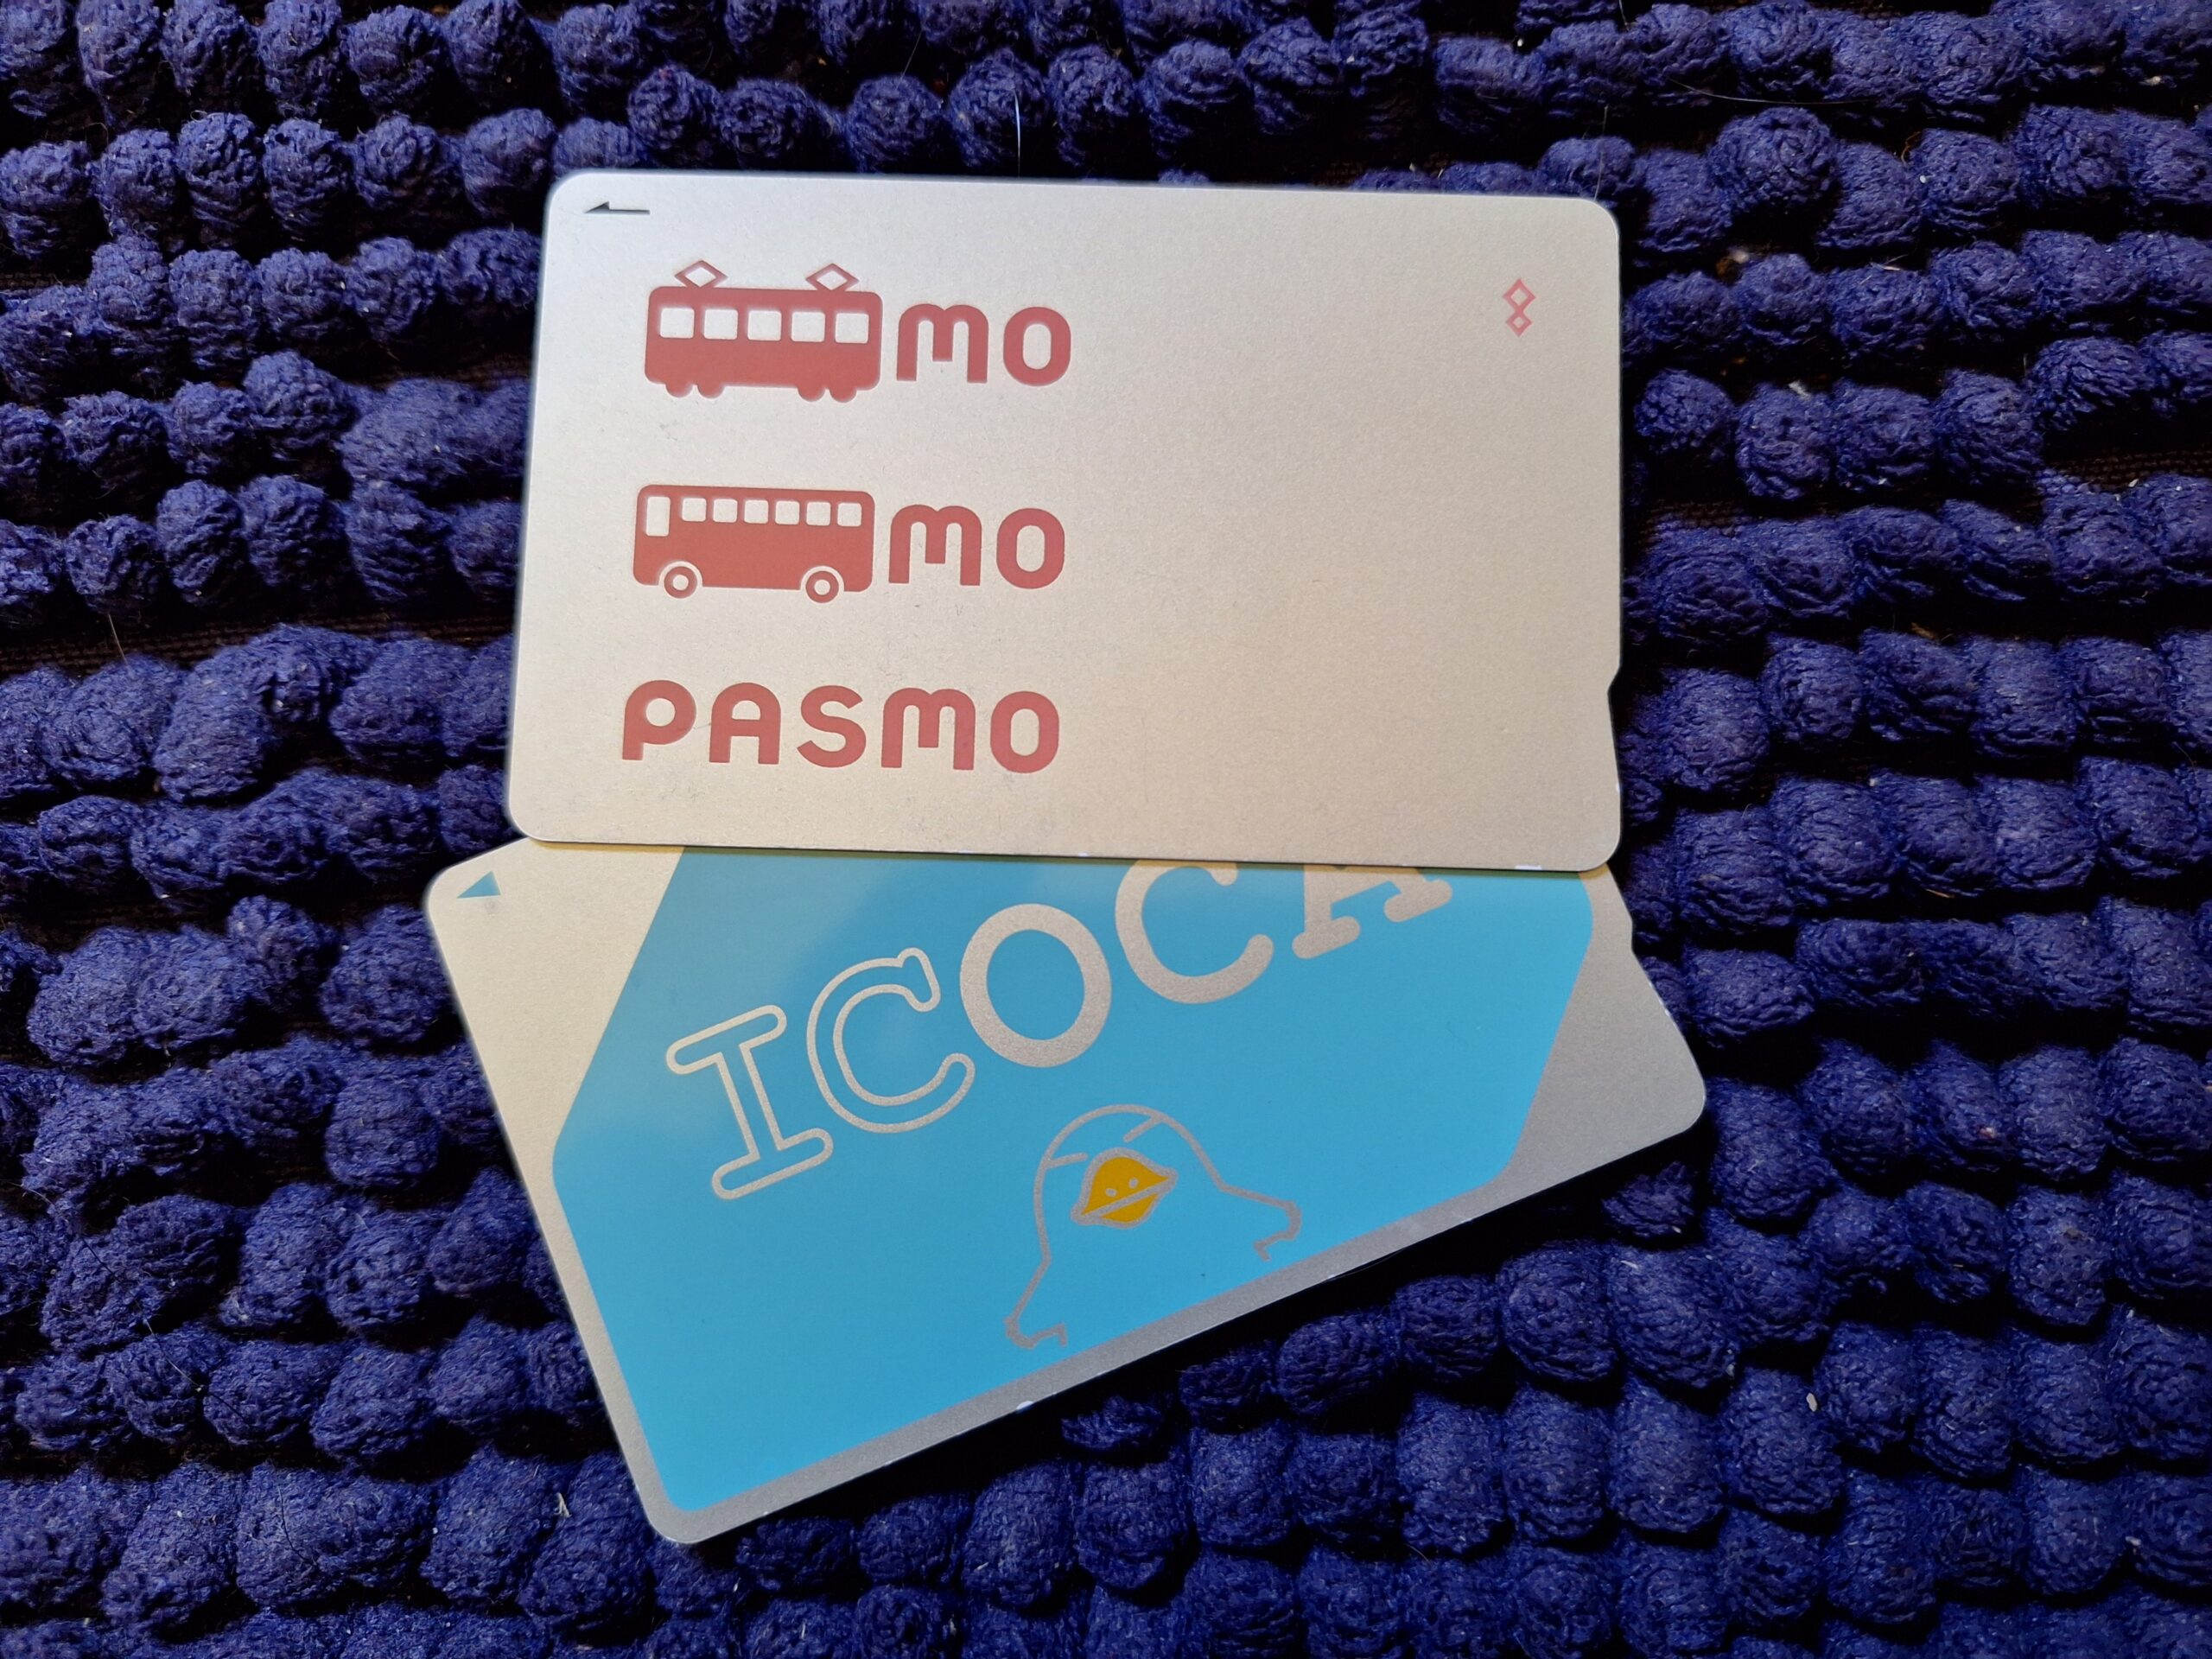
In our main Japan guide, we mentioned that getting a contactless public transport smart card—known locally as an IC Card—is a really practical travel item for your trip. Whether you are tapping through ticket barriers on the Tokyo subway, grabbing a hot coffee from a platform vending machine, or paying for a late-night snack at a convenience store (konbini), these cards eliminate all the friction of travelling.
However, many of our friends back in the UK and Canada have run into a massive, frustrating roadblock before they even board their flights. They search their local Apple App Store or Google Play Store for the official Suica or Pasmo apps, only to be met with a glaring error message: “This app is not available in your country or region.”
If you have hit this digital wall, do not panic. You do not need to mess around changing your phone’s entire region settings. Whether you want a seamless digital solution or you prefer the feel of physical plastic in your hand, setting up your transit card is incredibly straightforward once you know the real-world shortcuts.
Here is our practical, step-by-step guide on how to secure your card, how to use it across Japan, and how to avoid losing your money at the end of your trip.
- What Can You Actually Use a Suica or Pasmo For? (It’s Not Just for Trains!)
- For iPhone Users: The Apple Wallet Option
- For Android Users: The Physical Card Solution
- Regular Cards vs. Tourist Cards: Which One Should You Buy?
- Where to Buy Your Physical Tourist Card
- The Golden Rule: Cash Only for Physical Cards!
- Can I Get a Refund on My Leftover Balance?
What Can You Actually Use a Suica or Pasmo For? (It’s Not Just for Trains!)
Before we dive into how to get one, it is worth explaining just how powerful these little cards are. In Japan, an IC card is not just a transit pass—it is a universally trusted, widely accepted digital wallet.
Once you load it up with funds, you can tap and pay seamlessly at an incredible variety of places across the country. Here is a quick catalogue of what your Suica or Pasmo can do:
- All Local Public Transport: Seamlessly tap through the ticket gates for local trains, subways, and city buses in major hubs like Tokyo, Kyoto, Osaka, and beyond. They are interoperable, meaning a Suica bought in Tokyo works perfectly on the buses and trains in Kyoto!
- Convenience Stores (Konbini): Tap to pay for your morning pastries, snacks, or bento boxes at 7-Eleven, Lawson, and FamilyMart.
- Vending Machines: Thousands of drinks vending machines on street corners and train platforms allow you to simply tap your card instead of fumbling around for loose coins.
- Station Coin Lockers: If you need to store your daypack or suitcase at a train station to go exploring, modern digital lockers use your IC card as both the payment method and the electronic “key” to unlock it later.
- Casual Dining and Cafes: Many fast-food joints, ramen shops, chain restaurants, and coffee shops accept IC card payments at the till.
- Taxis: The vast majority of taxis in major cities have card readers attached to the back of the front seat where you can simply tap your card to settle the fare.
First time to Japan? This article may be helpful:
➡ First Time in Japan: Everything You Need to Know Before Visiting
For iPhone Users: The Apple Wallet Option
If you use an iPhone, you may be able to set up a Suica directly through Apple Wallet, without installing the Suica app.
Apple supports Suica on iPhone and Apple Watch, and a new Suica can be added directly from the Wallet app. You will need a compatible iPhone and an eligible payment card in Apple Wallet.
This can be a particularly convenient option for international visitors, as you don’t necessarily need to download and register for the standard Suica app.
However, we use Android phones ourselves, so we haven’t been able to test the iPhone setup personally. If you’re travelling to Japan from overseas, we recommend checking that Suica can be added and that your preferred payment card works before relying on this option for your trip.
The 3 Quick Steps to Set Up Your Digital Card
- Open the built-in Apple Wallet app on your iPhone.
- Tap + → Transit Card and select Suica.
- Follow the instructions to add funds and set up your card.
Once set up, Suica can be used for trains, buses and many everyday purchases in Japan. Apple also supports charging compatible transit cards through Wallet.
Important: The exact setup experience can depend on your iPhone, Apple Account and payment card. If you’re travelling from outside Japan, it’s worth checking everything in advance rather than assuming it will work on arrival.
Offline Travel Hack: Does it work without internet?
One of the most frequent questions our friends ask is: “Do I need an active eSIM or Wi-Fi connection for Apple Wallet to work at the ticket gates?”
The brilliant answer is: No, you do not need any internet connection or data to tap through the gates!
Thanks to Apple’s “Express Mode,” the communication happens entirely via physical radio waves between your phone’s internal chip and the station’s reader. You can be completely offline, in airplane mode, or have zero mobile signal deep underground, and it will still let you straight through with a simple tap. (Note: You only need an internet connection when you want to add more money/top up your card via Apple Pay).
For Android Users: The Physical Card Solution
Now for a quick bit of expectation management if you carry an Android phone. Because my wife and I travel back to Japan frequently to visit family, we naturally carry regular, long-term Japanese IC cards. However, when we look at our mobile setups, there is a major hardware hurdle to keep in mind for visitors.
Due to the internal hardware configuration of phones manufactured outside of Japan, foreign-bought Android devices physically cannot support digital Japanese IC cards, regardless of how much you tinker with your account settings or Google Wallet. Japanese contactless transit systems rely on a specific, hyper-fast microchip technology called FeliCa. Unless your Android phone was purchased inside Japan, it simply does not have this chip.
But do not let that dampen your spirits! It just means that if you are an Android user (or an iPhone user who simply prefers not to use Apple Wallet), your best strategy is to embrace the classic approach: buy a physical plastic card when you land.
Regular Cards vs. Tourist Cards: Which One Should You Buy?
If you look at older online travel forums or guidebooks, you might read about a global IC chip shortage that heavily restricted the sale of regular cards like the standard green Suica or pink Pasmo. While sales fully resumed in early 2025 and stock is readily available at major city stations, the options can still be confusing for first-time visitors.
To give you some perspective, because my wife and I travel back to Japan every single year to visit family, we naturally own and use the regular, long-term Japanese Suica and Pasmo cards. These regular cards are fantastic for frequent visitors because they stay active for 10 years from your last trip. We simply toss them in our drawer back home in Canada, and they are ready to code the moment we land in Tokyo the following year.
However, if you are planning your first trip and don’t expect to return annually, we strongly recommend choosing the specialized Tourist IC Cards instead: the Welcome Suica (issued by JR East) or the TOURIST PASMO (newly launched in May 2026).
Here is why they are perfect for your first visit:
- No Upfront Deposit: Standard Japanese IC cards require a mandatory ¥500 deposit that is locked away until you return the card to a busy ticket office. Tourist cards charge absolutely zero deposit, meaning every single Yen you pay goes straight toward your travel budget.
- A Beautiful, Free Keepsake: Standard cards are generic, plain green or grey plastic that you have to hand back if you want your deposit. The Welcome Suica features a stunning red cherry blossom motif, while the new TOURIST PASMO features stylish traditional Kanji characters for “travel”. They make a brilliant, free souvenir to stick into your travel scrapbook back home.
Just keep the vital catch in mind: While our regular cards last for a decade, your tourist card will completely expire after 28 days, and any remaining balance cannot be refunded—which is why you need our next trick to spend it down to the absolute last Yen!
Where to Buy Your Physical Tourist Card
You can easily secure your card depending on where you are in your journey:
Option A: If you are still at the airport
The absolute easiest route is to pick up your card the minute you clear customs at Tokyo’s major gateways:
- For Welcome Suica: Look for the dedicated red Welcome Suica vending machines or head into the JR EAST Travel Service Centre located right by the train station entrances at Narita (Terminals 1, 2, and 3) or Haneda (Terminal 3).
- For TOURIST PASMO: Head to the dedicated railway service counters for the non-JR lines at the airport train stations, such as the Keisei Electric Railway counters at Narita or the Keikyu Electric Railway counters at Haneda.
Option B: If you are already inside the city centre
If you rushed out of the airport to catch your hotel shuttle and forgot to grab a card, do not worry—you haven’t missed your chance.
- Welcome Suica can be purchased inside Tokyo at major JR Travel Service Centres located at flagship hubs like Tokyo Station, Shinjuku, Shibuya, Ikebukuro, and Ueno.
- TOURIST PASMO can be purchased directly from the main commuter 地下鉄の定期券売り場 (Commuter Pass Offices) located inside major Tokyo Metro and Toei Subway stations. Simply present your passport to verify your tourist status, and the staff will issue your card over the counter.
The Golden Rule: Cash Only for Physical Cards!
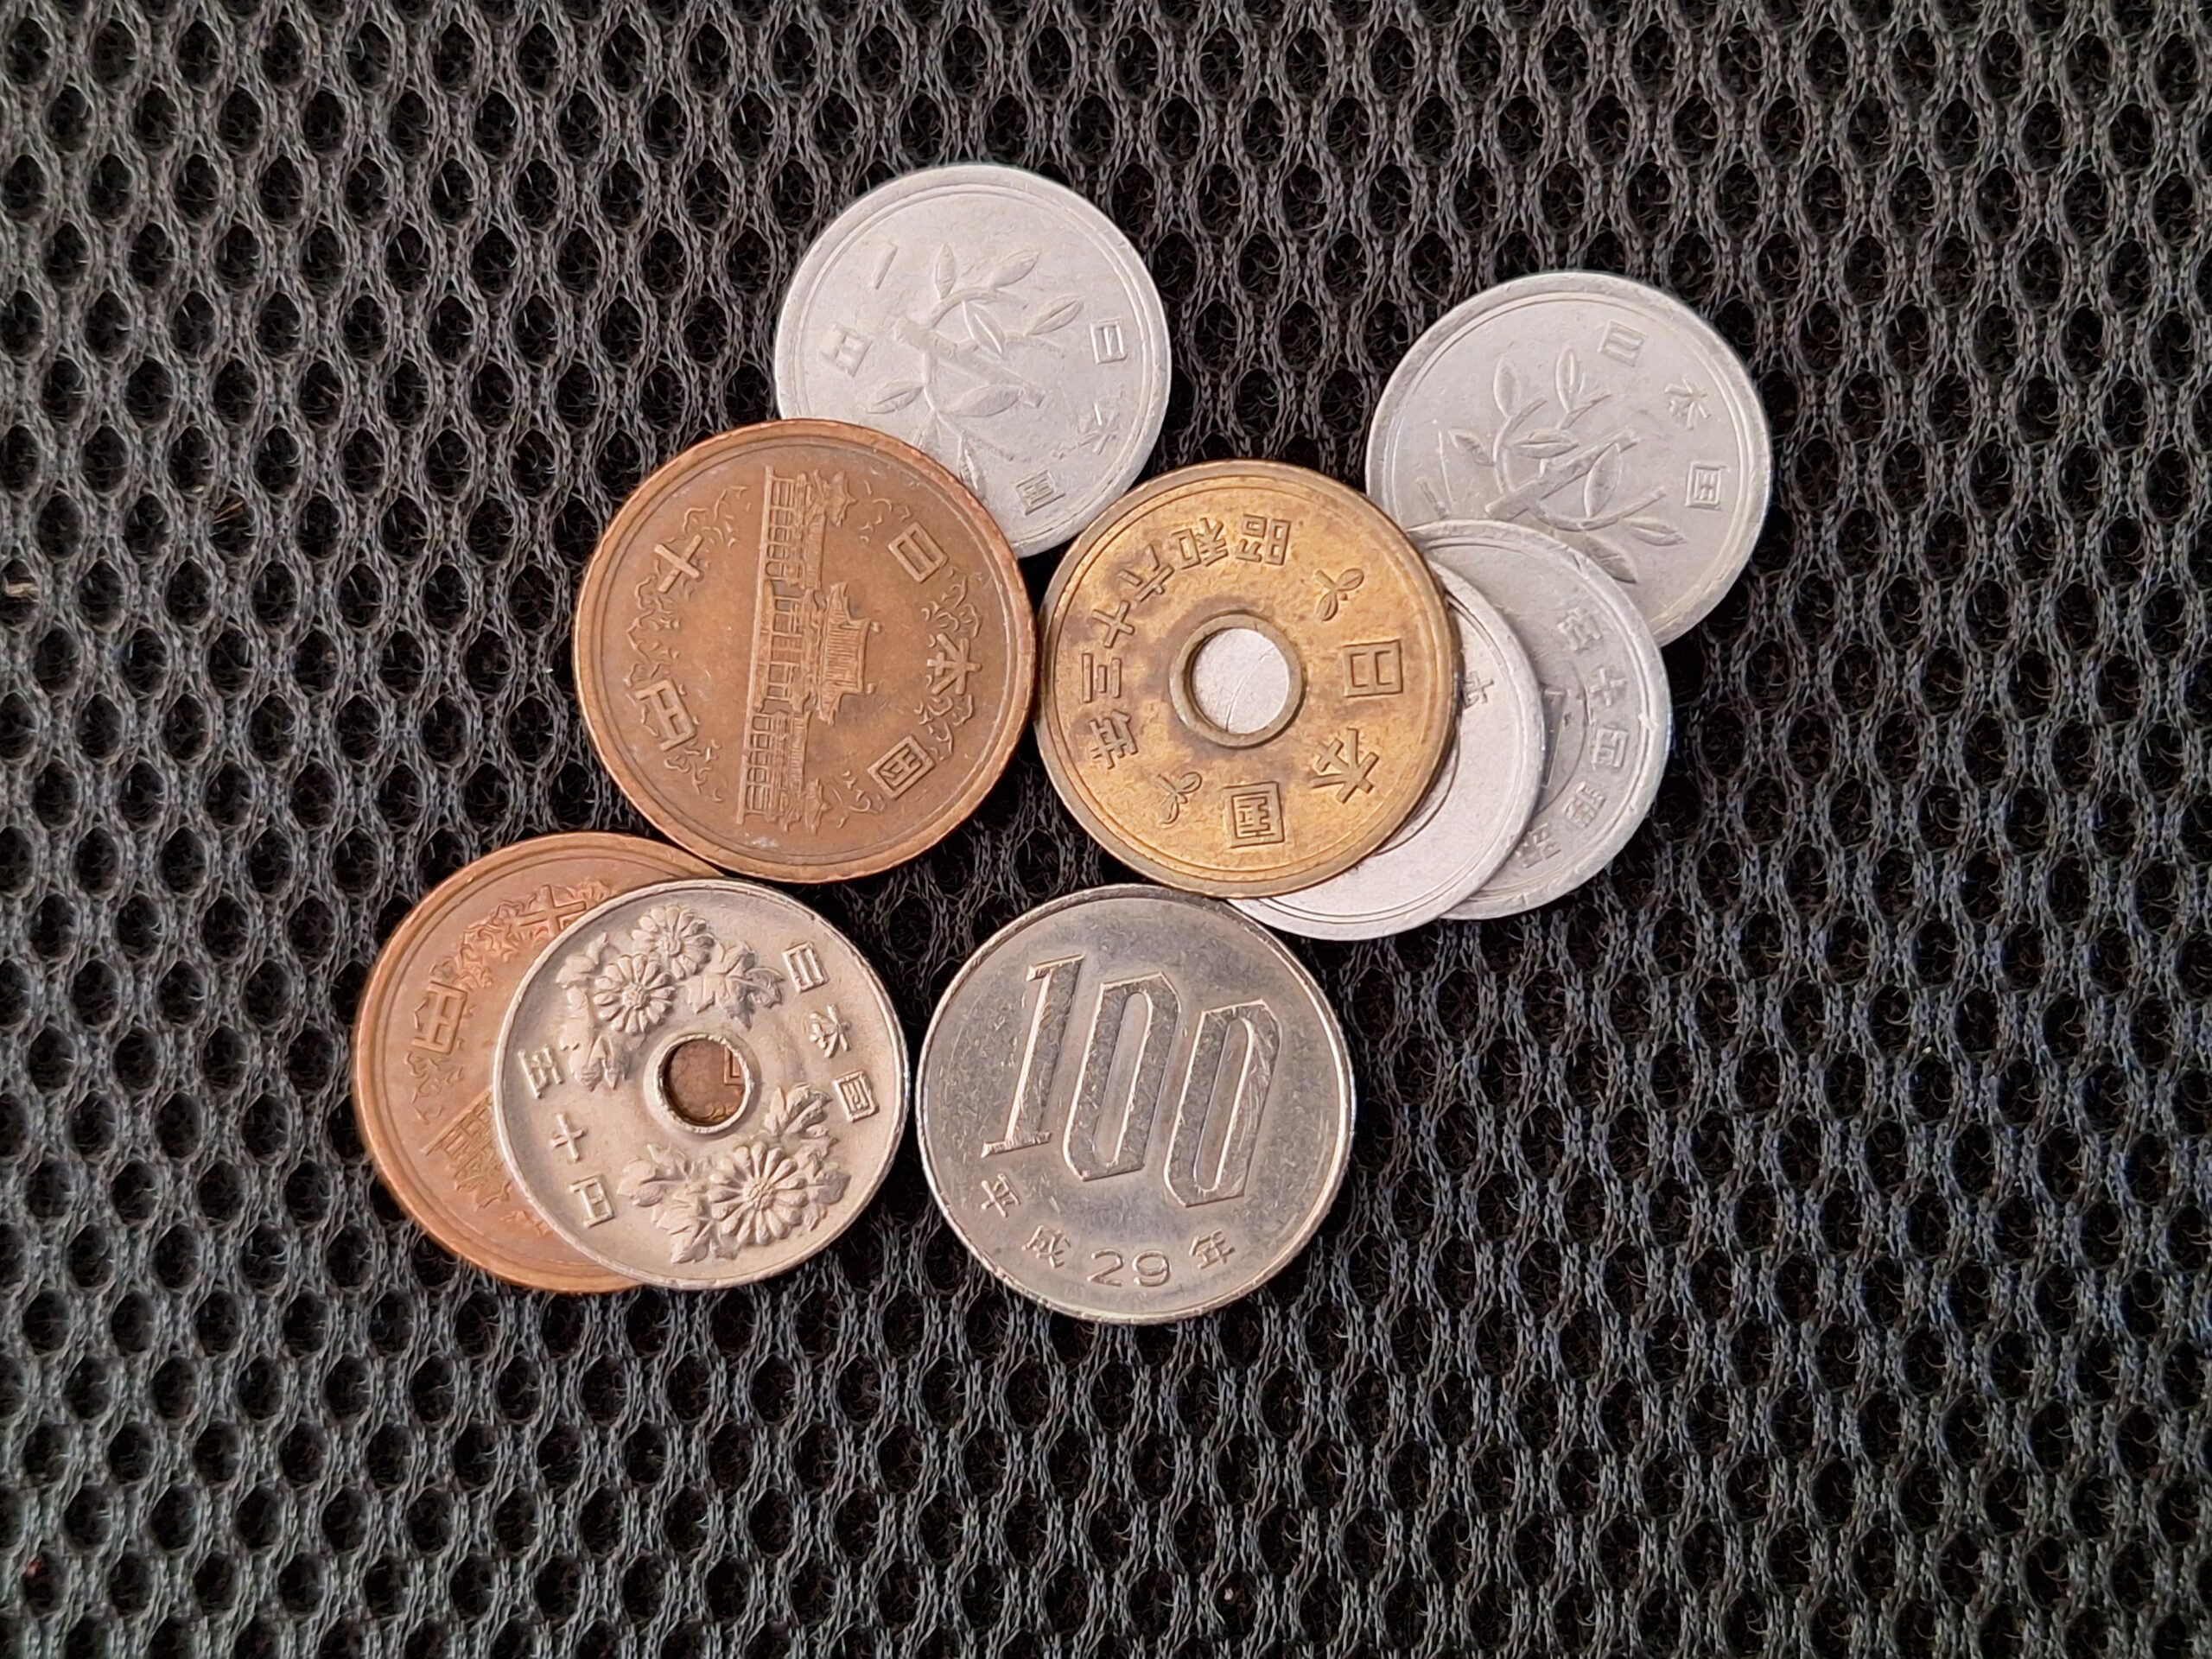
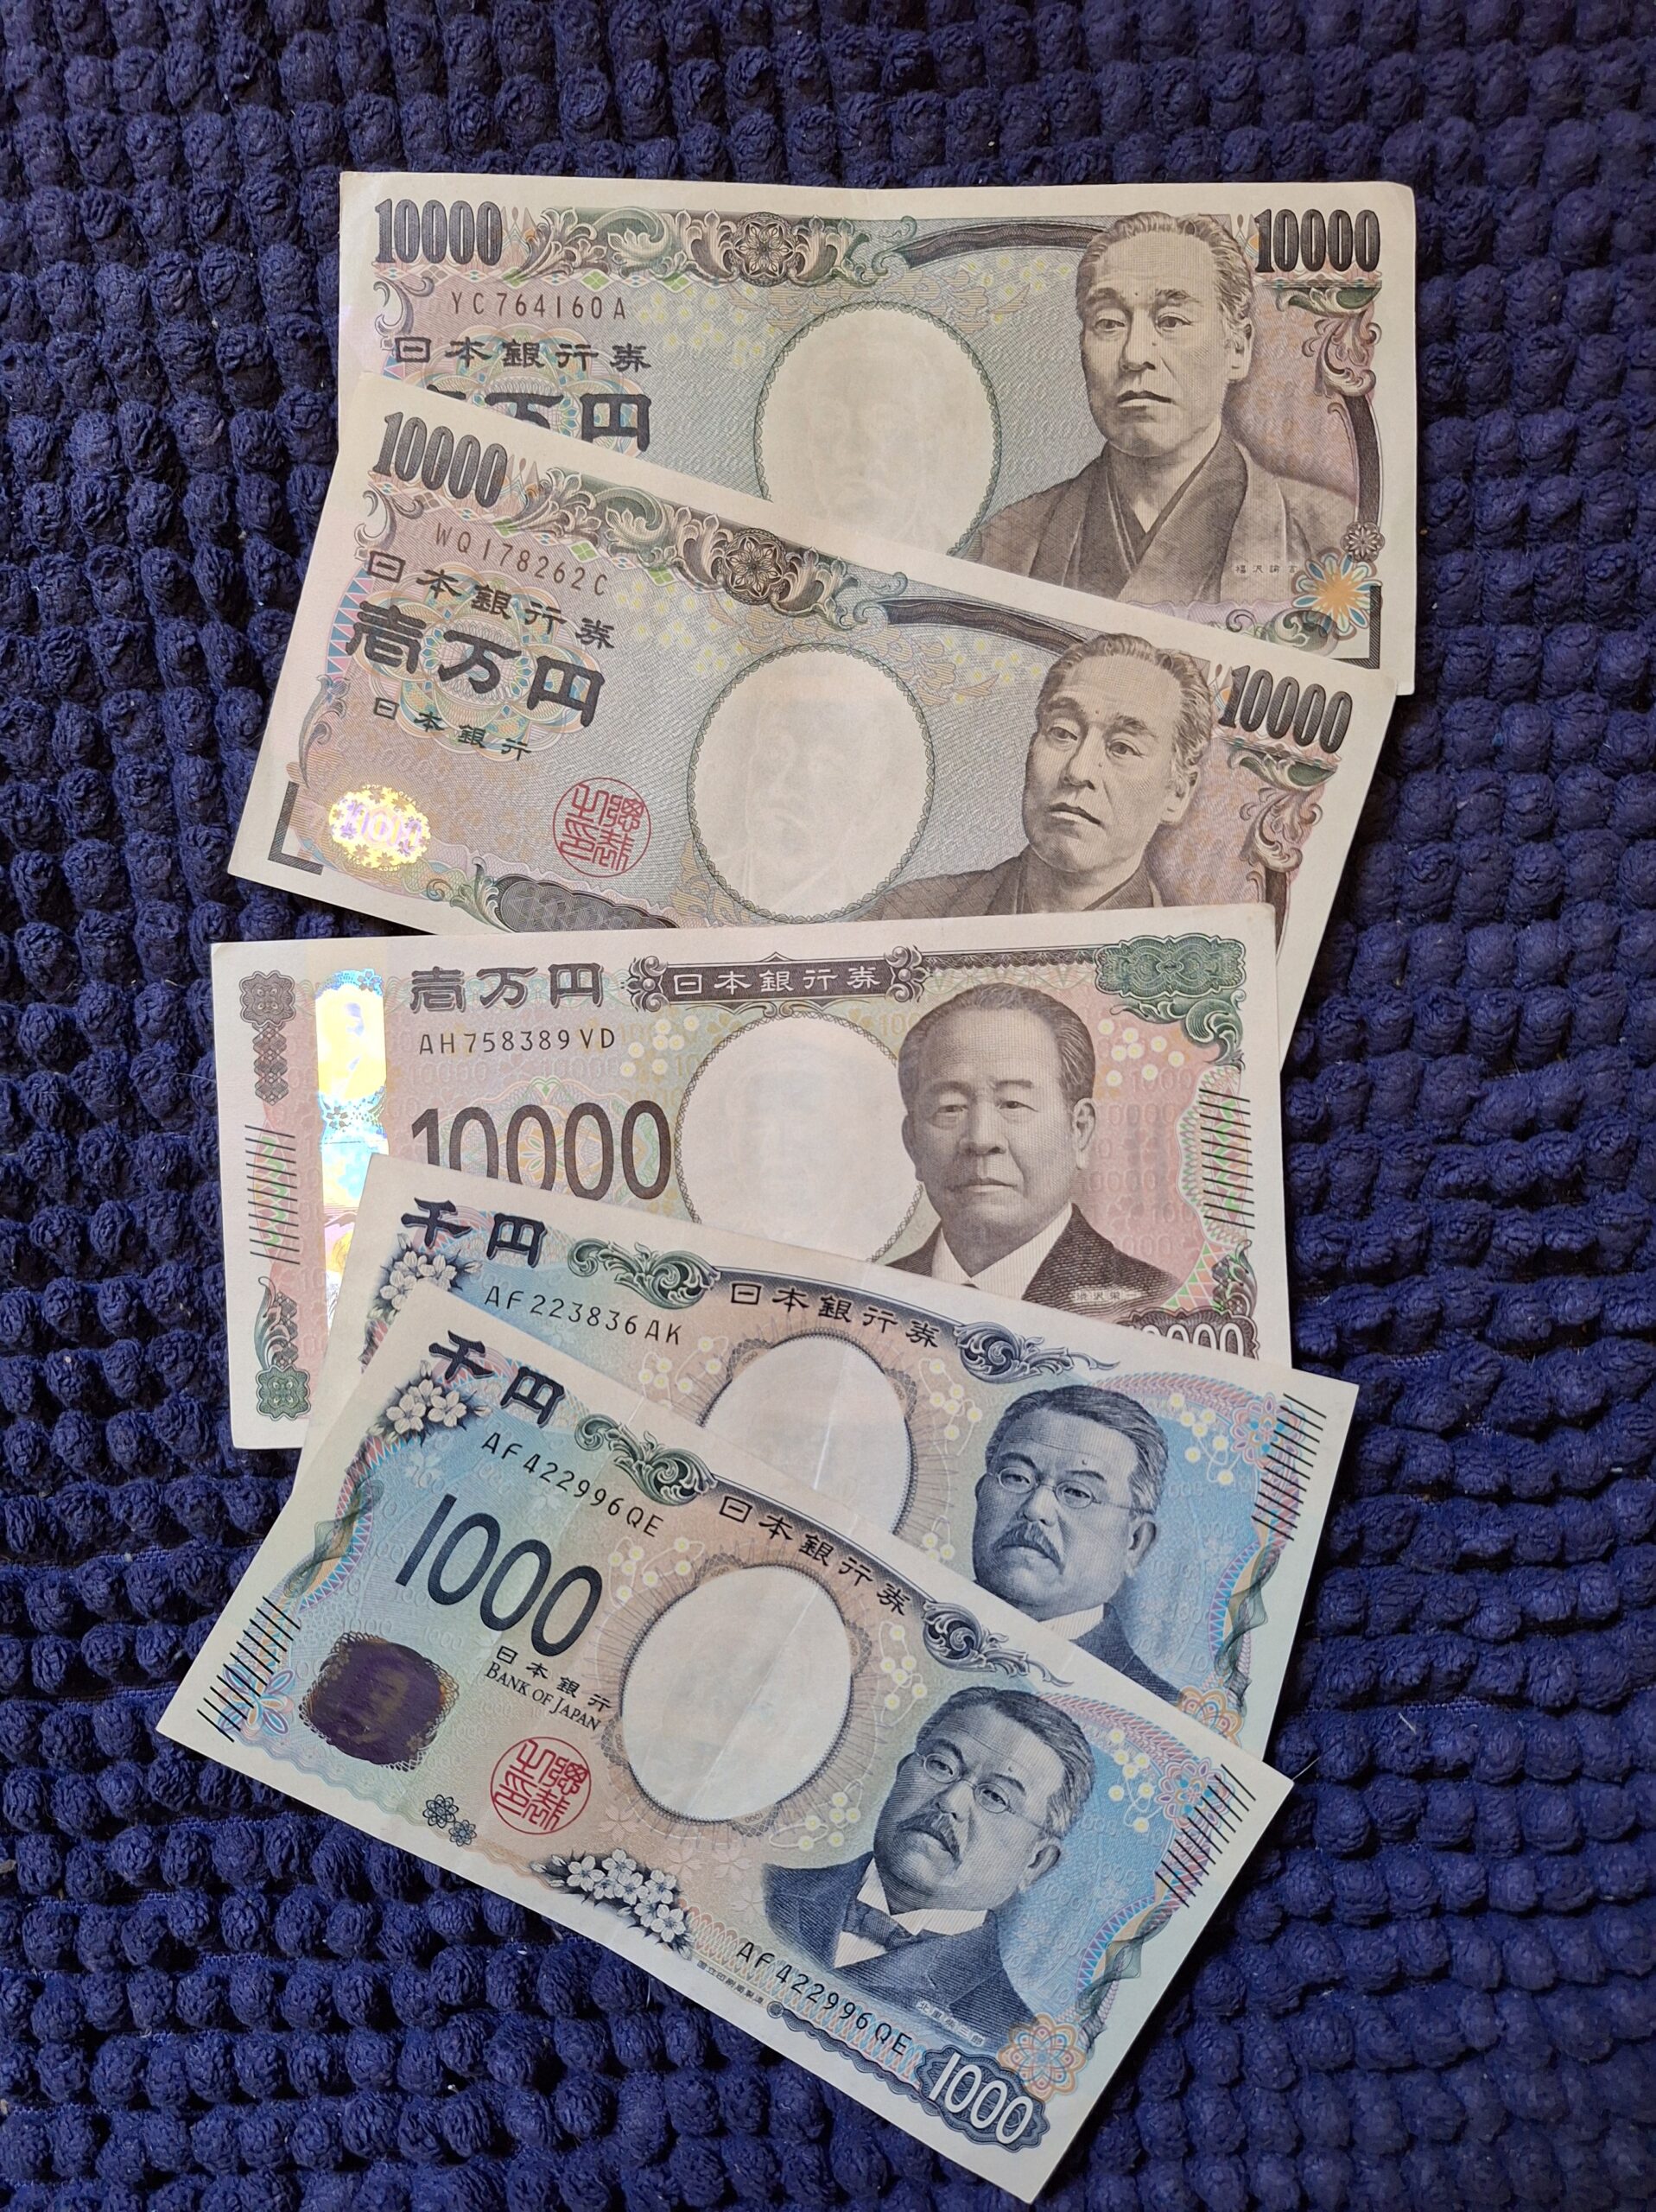
If there is one single piece of advice you should take away from this page to avoid an awkward moment at the station, it is this: When you are buying a physical plastic IC card, or topping up its balance at a machine later on, you cannot use a credit card or debit card. It is strictly, 100% CASH ONLY.
The automation systems inside Japanese train stations do not interface with international banking networks for micro-recharges. Before you join the queue at the airport vending machine or a city ticket office, make a quick stop at a cash point.
The Convenience Store Trick: The absolute easiest way to top up a physical card once you are on the move is to bypass the busy train station machines entirely. Walk into any convenience store (7-Eleven, Lawson, FamilyMart), place your physical card onto the little reader at the counter, hand the clerk some hard cash, and say, “Charge, please.” You can also do this yourself seamlessly at any 7-Bank ATM located inside 7-Eleven stores by choosing the “IC Card” option on the touchscreen and sliding your card into the designated tray.
So, how much cash should you actually carry around with you?
➡ How Much Cash Do I Need in Japan? (A Practical Guide)
Can I Get a Refund on My Leftover Balance?
As your holiday draws to a close and you find yourself sitting at the departure gate, you might notice you have a few thousand Yen left sitting on your plastic card. Can you take it to a window and get your cash back?
The honest answer is: If you bought a tourist-specific card (Welcome Suica or TOURIST PASMO), NO. Refunds are strictly prohibited.
Because these cards charge no upfront deposit and are designed to be kept as souvenirs, the railway networks operate a strict no-refund policy on any remaining credit. Once those 28 days are up, any money left on the chip vanishes forever.
Chris’s Pro Tip: The Airport “Split-Payment” Trick
Do not leave your hard-earned travel cash behind for the railway companies to keep! The smartest strategy is to deliberately empty your card down to exactly ¥0 on your final day.
Before you head through airport security for your flight home, step into one of the duty-free shops or terminal convenience stores. Pick out your favourite Japanese sweets, matcha snacks, or gifts to take home. When you get to the till, hand over your physical tourist card first and tell the clerk, “IC card first, please.”
The cashier will scan your card, draining the balance completely to absolute zero. They will then tell you the tiny remaining balance for your purchases, which you can smoothly settle using your physical cash, your standard international credit card, or your Wise card.
By using this combination method, you ensure that you maximise your budget, get some great souvenirs, and don’t leave a single Yen wasting away on your plastic card!
Have you ever heard that there’s no tipping culture in Japan? To be precise, that isn’t entirely true. We explain this in more detail here:
➡ Do You Tip in Japan? (The Honest Truth About Tipping Culture)
➡ Back to Budget Travel in Japan: Smart Money-Saving Tips & Cost Guide
Comment